
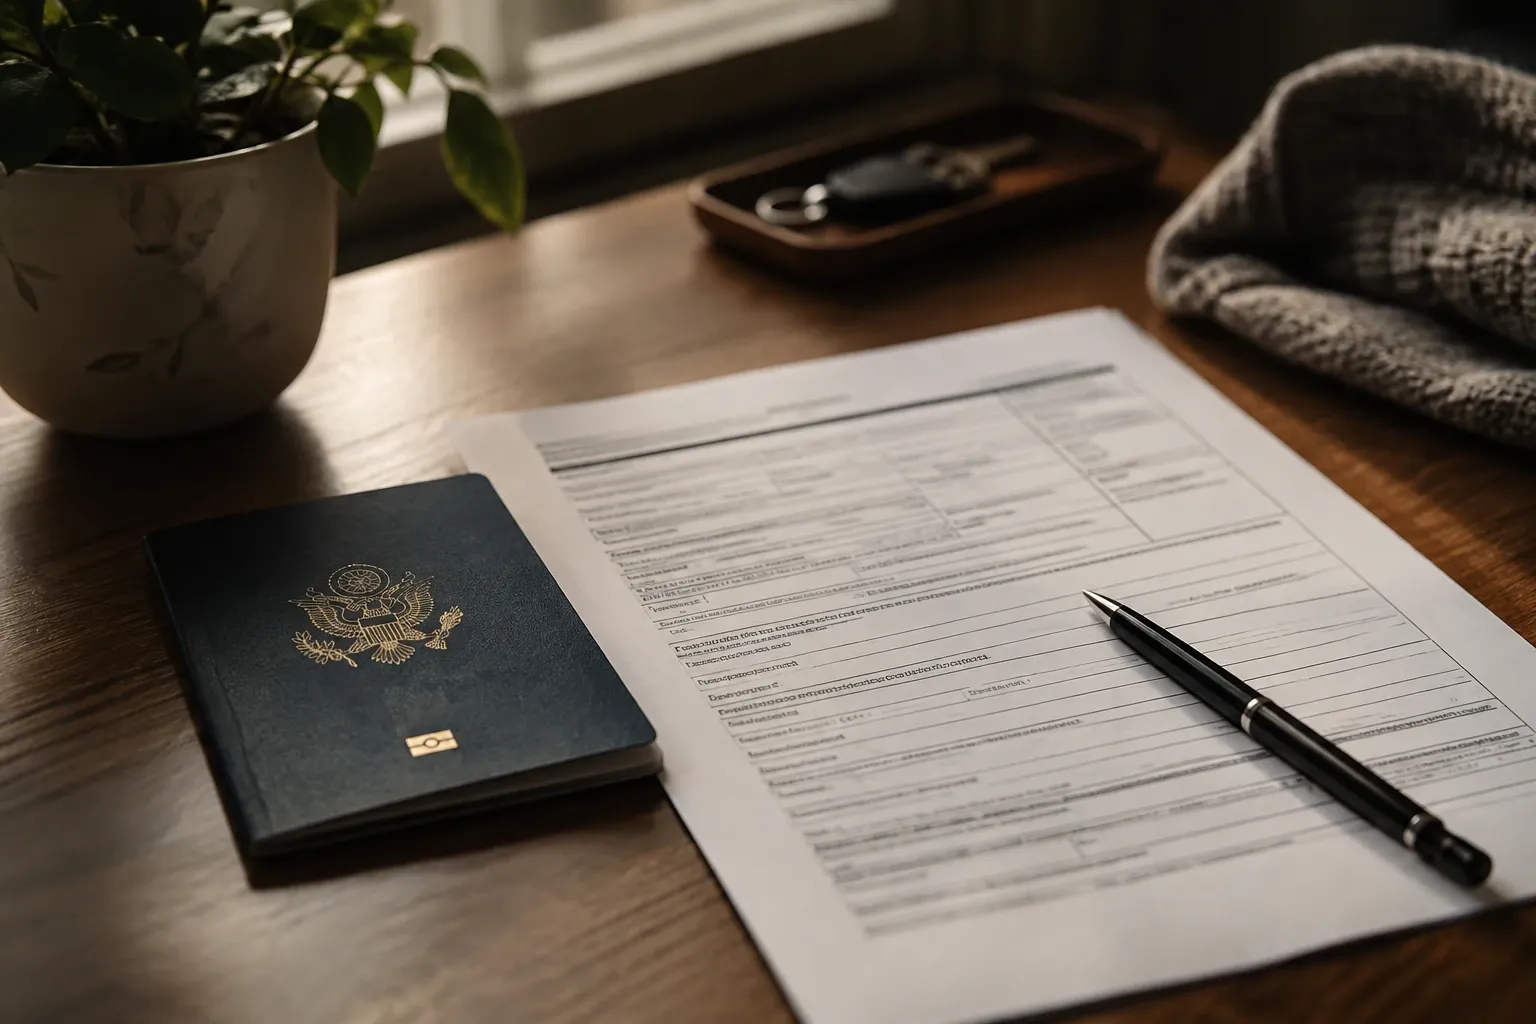
Once your school issues Form I‑20, you enter a process with a clear order: pay the I‑901 SEVIS fee, complete DS‑160, pay your visa fee and book the interview, gather documents, then show up prepared. The details matter, from matching the SEVIS ID to knowing when you can actually fly. This guide walks you through each action with sources from U.S. government sites and practical checkpoints so you can plan your timeline with confidence.
What your I‑20 unlocks—and what to check first
Your I‑20 is your school’s certificate of eligibility for F‑1 status. Once your SEVIS record is created and the I‑20 is issued, you can start the visa process. The Department of State explains that your school enters you in SEVIS and sends the I‑20; you must present it at the interview and at the U.S. border (Student Visa page). Verify that your name and birthdate match your passport and that you sign the I‑20—errors can cause delays (EducationUSA emphasizes checking these details in its pre‑departure materials: pre‑departure checklist).
How degrees, study programs and visas fit together if you’re still mapping options.
The exact order of steps (with official links)
-
Pay the I‑901 SEVIS fee on the government portal. Use your SEVIS ID from the I‑20 and pay at FMJFee.com. ICE’s FAQ confirms most F‑1 students pay $350, and that your receipt must match the SEVIS ID on your current I‑20 (ICE I‑901 SEVIS Fee FAQ).
-
Complete the DS‑160 online visa application. The DS‑160 is submitted electronically; print the confirmation page with the barcode for your interview (DS‑160 overview). The Student Visa page lists DS‑160 and the required photo.
-
Pay your visa application fee and schedule the interview. Instructions vary by embassy or consulate; always follow the post’s website. To plan timing, check the official Global Visa Wait Times tool.
-
Gather documents the officer may request. State lists the core set: passport valid at least six months beyond your stay (unless exempt by agreement), DS‑160 confirmation, fee receipt if required before interview, signed I‑20, academic records, and evidence of funds and intent to depart.
-
Attend your interview and provide fingerprints. A consular officer will determine eligibility; some cases require additional administrative processing.
Timelines you can actually plan around
- How early to apply: for new students, embassies can issue F‑1 visas up to 365 days before your program start date.
- Earliest entry to the U.S.: you may enter no more than 30 days before the I‑20 start date (same source: Student Visa page).
- Checking appointment availability: use the official wait times page; times vary by post and week.
Home‑country interview or another post—what really changes?
You may schedule your appointment at a U.S. embassy or consulate outside your country of residence, but the State Department notes it may be harder to demonstrate you qualify there. Read the post’s specific instructions before you decide.
What to bring on interview day
- Passport (valid long enough per local rules), DS‑160 confirmation, and the I‑20 signed by you and your school official.
- Proof of finances covering tuition and living costs, and your academic preparation (transcripts, diplomas, test scores) as listed on the State Department page.
- I‑901 SEVIS fee receipt from FMJFee.com and any embassy‑specific documents required by your post’s website.
After approval: passport return and travel window
Once approved, you may need to pay a visa issuance fee depending on nationality, then arrange passport return per the embassy’s process. Remember: a visa allows you to travel to a U.S. port of entry and ask for admission; CBP makes the final decision. New F‑1 students cannot enter earlier than 30 days before the I‑20 start date.
Common pitfalls you can avoid
- SEVIS ID mismatch: if your school reissues an I‑20 with a new SEVIS ID, the ICE FAQ explains how to request a transfer of your existing I‑901 payment so the receipt matches the new ID.
- Paying the wrong site: only pay the SEVIS fee at FMJFee.com, the official DHS portal.
- Booking too late: use the wait times tool early; posts can fill quickly before major semesters.
If you’re thinking ahead to work after study
Optional Practical Training (OPT) requires a school endorsement on your I‑20 and a work authorization application to USCIS, as the State Department notes under “Optional Practical Training”. For a student‑friendly overview of timelines and what you can do, see our guide to OPT after graduation.
Frequently asked questions
When can I apply for my F‑1 visa, and when can I enter the U.S.?
For new students, embassies can issue an F‑1 visa up to 365 days before your program start date, but you may not enter the U.S. more than 30 days before that date. Both rules are stated on the Department of State’s Student Visa page, which also links to embassy‑specific instructions.
How much is the I‑901 SEVIS fee and when do I pay it?
For most F‑1 students, the I‑901 SEVIS fee is $350. Pay it after receiving your I‑20 and before your visa interview, on the official payment portal FMJFee.com. ICE’s I‑901 SEVIS Fee FAQ confirms the amount and that the SEVIS ID on your receipt must match the SEVIS ID on your current I‑20.
Do my spouse or children have to pay the SEVIS fee?
Dependents applying for F‑2 visas do not pay the I‑901 SEVIS fee, but they must each have their own I‑20 issued by your school. This is outlined on the Department of State’s Student Visa page. Bring proof of the family relationship to their interviews.
Can I book my interview outside my country of residence?
Yes, you may schedule your interview at another U.S. embassy or consulate, but the State Department notes it may be harder to demonstrate that you qualify outside your country of residence. Always read the specific post’s instructions before choosing this option.
How do I estimate appointment wait times?
Use the State Department’s Global Visa Wait Times tool. It shows typical waits by embassy or consulate and reminds you that times vary with workload. Check it early to plan when to submit DS‑160 and pay your fee.
In this section Degrees Programs & Visas